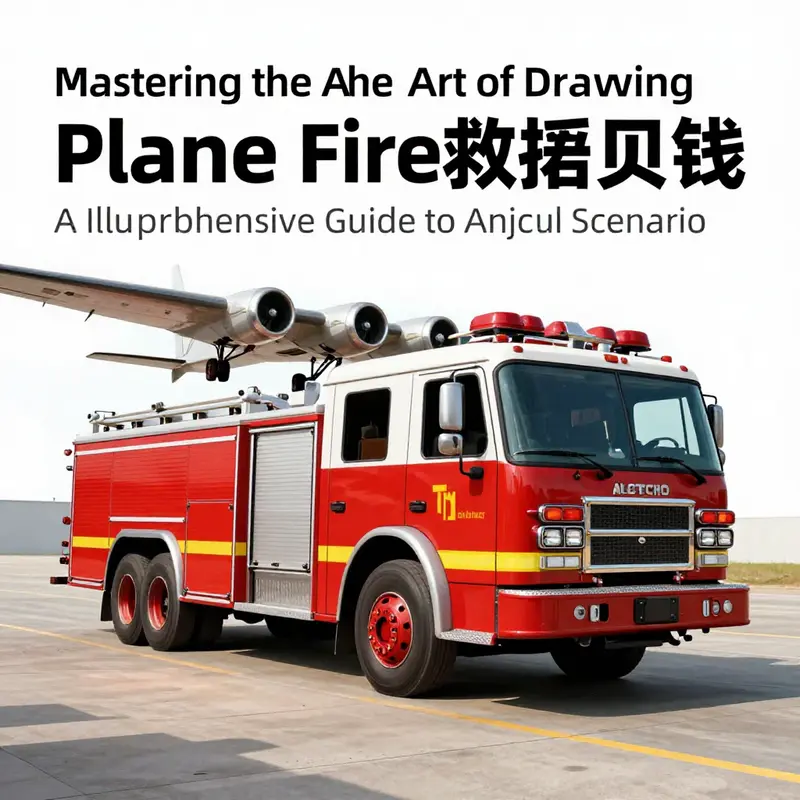
Drawing a plane fire rescue train is a captivating venture that combines elements of aviation, emergency response, and rail transport. This unique concept, while not found in reality, provides an excellent opportunity for creativity and artistic expression. This guide aims to present a robust methodology for educators, firefighters, emergency rescue personnel, and community residents who wish to enhance their drawing skills. Each chapter systematically covers different components, from laying out the scene and adding detailed elements of the airplane, fire truck, and train, to injecting a sense of action and finalizing the artwork. By the end, readers will be equipped with the knowledge and confidence to create a dynamic representation of this imaginative scenario.
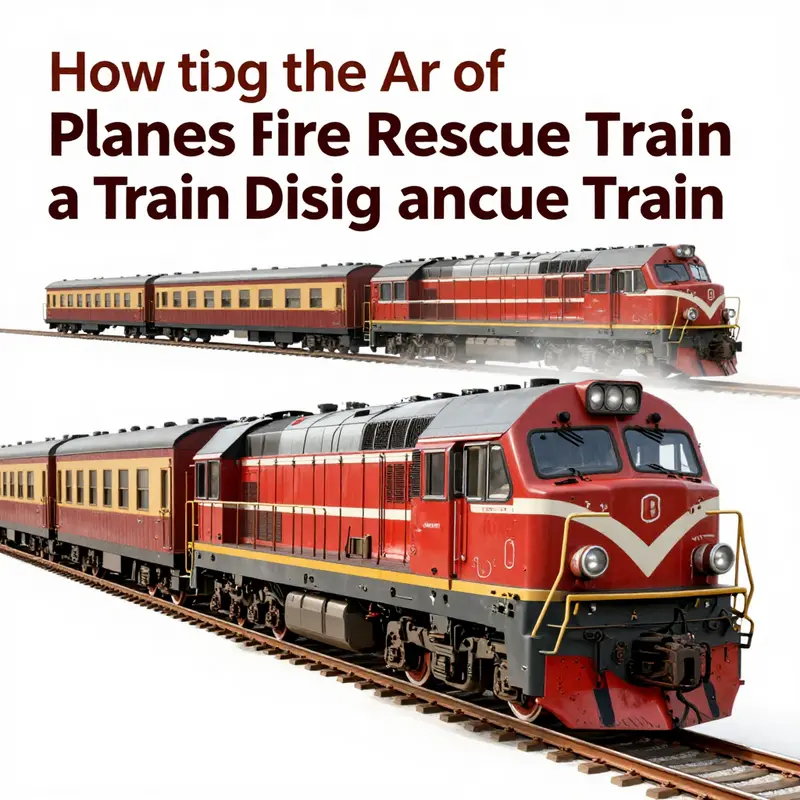
Designing the Rescue Scene: Laying Out a Planes Fire Rescue Train Illustration
Designing the Rescue Scene: Laying Out a Planes Fire Rescue Train Illustration
Creating a compelling composition for a planes fire rescue train begins with a single decision: what story you want the image to tell. Imagine a decisive moment — a firefighting aircraft on approach, a rescue vehicle poised to act, and a train either arriving to help or caught in the drama. That moment defines camera angle, scale, and the flow of action. Start small, with quick thumbnail sketches that test different arrangements. Choose one that puts the viewer where you want them: close to the plane for drama, or pulled back to show the entire response chain.
Begin by establishing the ground rules for the scene. Lightly pencil in a horizon line and one or two vanishing points if you will use perspective. A single vanishing point facing the viewer creates a cinematic, head-on view. Two points allow for more dynamic angles, like a plane banked toward the viewer with a train receding along tracks. Place the plane slightly off-center to avoid static symmetry. The fire truck should be positioned at a believable distance from the aircraft, either alongside the runway or straddling a service road. The train belongs on rails that lead the eye into the composition; align the tracks so they intersect the plane or fire truck visually, guiding attention.
Scale matters. A plane’s wingspan and fuselage block large portions of the frame. Show the aircraft larger and closer to convey urgency. Place the fire truck so it feels proportionate: not too small to be insignificant, not so big that it competes with the plane. The train can sit farther back and still feel massive because of its length. Use overlapping to suggest depth: the plane in front, the truck behind, and the train further back or partially obscured by smoke. Overlap also creates natural focal points where elements meet — a hose stream crossing the plane’s fuselage, for example, can act as a visual bridge.
Consider lines of action. A strong diagonal from lower-left to upper-right suggests motion and progress. Arrange the plane’s trajectory to follow that diagonal. Let the tracks echo the same line, producing visual rhythm. Use smoke plumes, water sprays, and motion lines to reinforce direction. These elements should not clutter the piece; they should lead the eye from the emergency to the responders and out to the surrounding environment. Negative space matters. Leave breathing room around key silhouettes so the shapes read clearly at a glance.
Decide on a focal point, then reinforce it. If the plane’s burning wing is the drama core, make it the brightest and most detailed area. Keep secondary areas, like the train windows or firefighter figures, simpler so the eye returns to the main event. Contrast is your ally: dark smoke, bright flames, and reflective metal surfaces create immediate visual hierarchy. Use values early in the sketch stage. Shade large blocks to test where dark and light will balance. This habit saves reworking later.
Balance realism with stylization. If you draw inspiration from animated firefighting aircraft, translate exaggerated forms into believable mechanics. Emphasize the plane’s silhouette with a streamlined fuselage and definite wing shapes. Give the fire truck boxy, sturdy proportions, and include recognizable equipment like hoses and ladders at a simplified level. The train’s cars should read as connected forms with repeating windows or panels. Simplification helps when the scene grows busy. Prioritize readable shapes over hyper-detailed textures at this stage.
Think about the angle of the scene and how it affects visibility. A low-angle view increases drama and foreshortening. It can make the plane look massive and heroic. A high-angle view places the viewer above the commotion, offering clarity of layout and how units coordinate. Rotate your thumbnails to explore both. You may find that a slightly tilted horizon — a Dutch angle — adds cinematic tension. Use it sparingly to avoid disorienting the reader.
Layering elements creates a believable environment. Start with background elements: distant terminal buildings, tree lines, or mountains. These anchors help define the scale and setting. Next, add the midground where the train runs and where most action will happen. The foreground is where you place the plane and fire truck for immediacy. Smoke and atmospheric effects should travel through all layers to unify the composition. Apply lighter, dustier strokes to distant objects and sharper, darker ones to foreground forms.
Narrative beats can be subtle. Small gestures tell a larger story: a firefighter leaning toward the hose, a train conductor waving from a cabin, or a passenger figure visible in a distant carriage. These tiny additions humanize the machinery and provide emotional hooks. Place them where they naturally belong, not as afterthoughts. Ensure scale and perspective match the main forms so they don’t feel pasted on.
Plan movement with practical details. If water arcs from the truck to the plane, sketch its trajectory as a soft curve. Let droplets catch highlights where they meet flames, creating a moment of tension. For the train, indicate motion with angled steam, slight blur lines along the carriages, or raised dust at the wheels. Avoid overdoing motion lines; imply speed more with posture and environment than with a storm of strokes.
Refine composition through iterative checks. Step back frequently and squint. If the scene still reads clearly, proceed to strengthen silhouettes and add defining details. When you refine the plane, fire truck, and train, break each into simple geometric shapes first. Use these to confirm proportions, then add panels, windows, and equipment where needed. Keep line weight varied: thicker outlines for foreground shapes, thinner lines for distant details. This approach gives your drawing depth and clarity without asking the viewer to read every inch.
Finally, gather references and arrange them beside your workspace. Study rescue vehicle layouts, aircraft proportions, and train structures. The composition benefits from accurate cues even when stylized. For technical inspiration on vehicle configuration and operational setups, explore resources about adaptable rescue vehicle designs and how they are used in different environments. See this article on customizable fire truck solutions for reference: customizable-fire-truck-solutions-for-developing-countries-diverse-firefighting-needs.
For visual inspiration on animated firefighting aircraft and scene staging, consult concept art and production images from a known animated rescue film. These images help you translate cinematic camera choices and character-driven composition into your drawing. Reference materials can inform pose, pacing, and the emotional tone of the rescue. External reference: https://www.imdb.com/title/tt3587942/
By laying the scene with intention, balancing scale and motion, and integrating human elements, you create a layout that supports dramatic storytelling. The plane, the fire truck, and the train should feel like parts of a coordinated response, each contributing to the visual rhythm. With a solid layout established, you can confidently move to detailed rendering, color choices, and lighting that emphasize the rescue’s urgency and heroism.
Wings, Rails, and Rescue: Crafting a Dynamic Planes Fire Rescue Train in Art
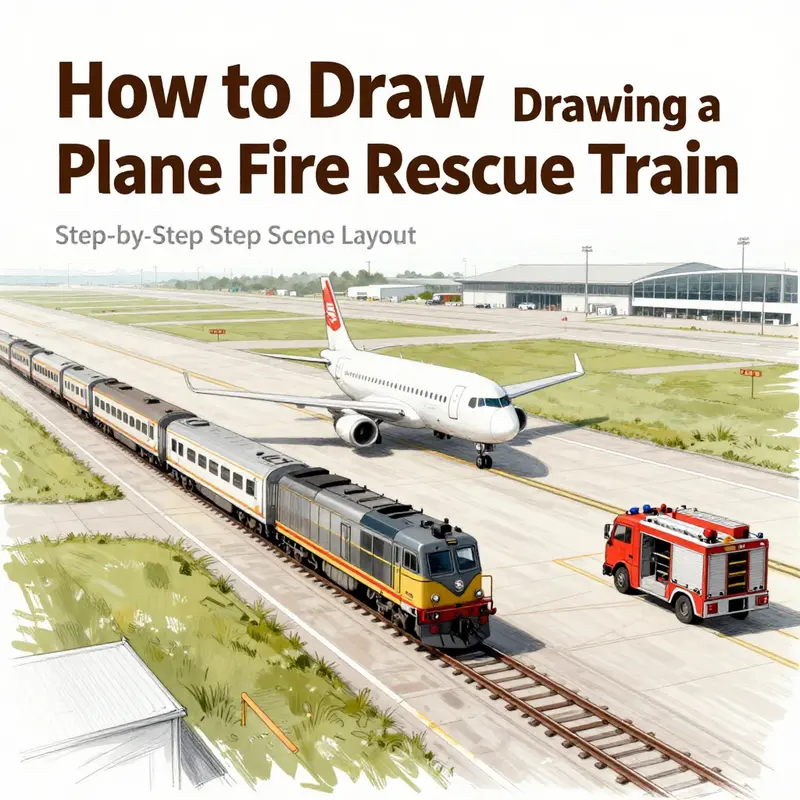
Visualize a single frame that threads three machines together: an airplane, a fire rescue vehicle, and a train.
Start from a three-quarter view to reveal the plane’s fuselage, the truck’s ladder, and the train’s length in one glance.
Set a mood such as dawn glow or a moody overcast to shape light and color.
Let the light sculpt the plane’s skin, the truck chrome, and the train surfaces.
Use a tonal plan to guide the eye from wingtip to wheel to rail.
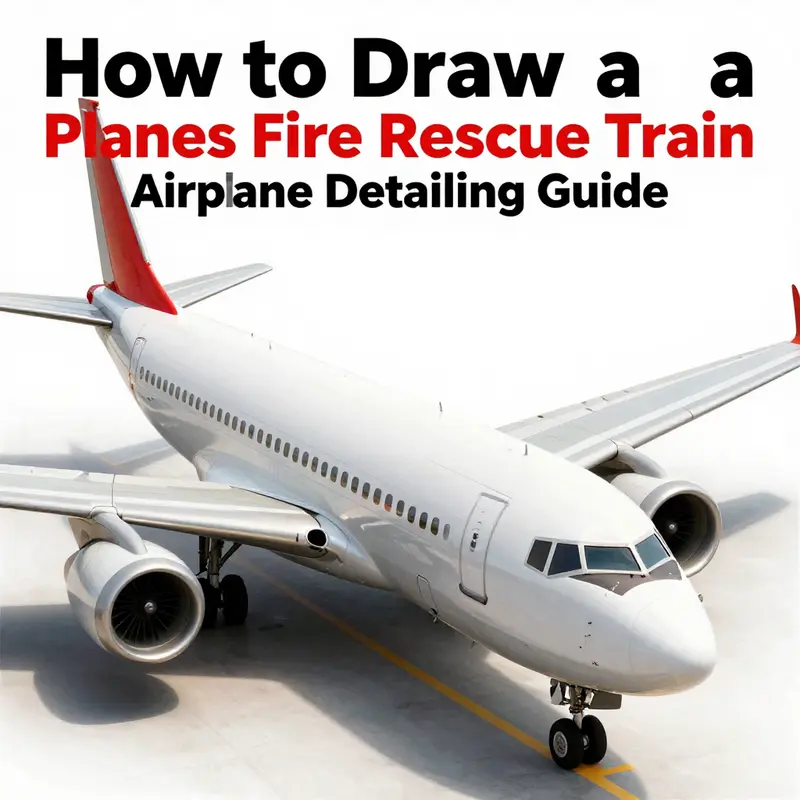
Then describe each machine: the airplane as a long smooth form with tapered nose, cockpit windows, wings, panel lines, landing gear.
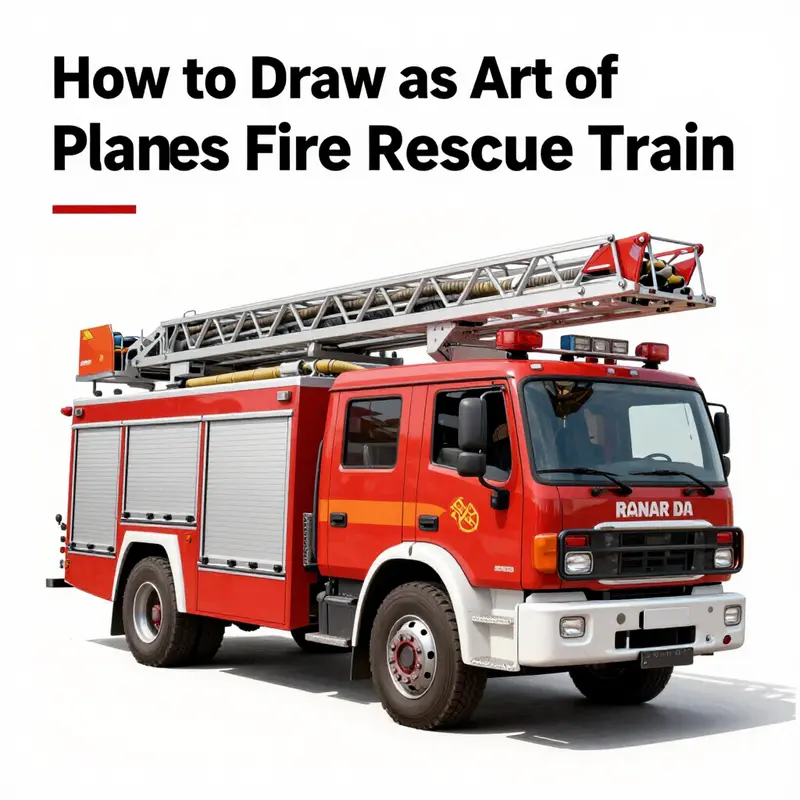
The fire truck as a sturdy silhouette with a prominent cab, a ladder, hoses and compartments, bright red color with reflectors.
The train as a strong mass at the front with carriages providing rhythm, rails anchoring depth, and distant haze to suggest motion.
In composition, show an interaction: sparks or flames near the wing, water jets from the truck, the train steady in the background.
Small figures can add scale.
Finally, connect texture and materiality: metal skin, painted surfaces, glass and rubber, weathering and reflections.
Close with a reminder that three machines act as coauthors in a shared story, and that good design balances power and restraint to create a believable, cinematic moment.
Building the Rescue Rig: Fire Truck Construction Techniques for a Planes Fire Rescue Train
When you place a fire truck into a dramatic plane-and-train rescue scene, the vehicle must read as believable at a glance. That believability comes from understanding the fire truck as a structured machine, not just a red box with ladders. In this chapter we focus on construction techniques that let your drawn fire truck hold up under perspective, action, and interaction with the plane and train. The goal is a vehicle that looks like it can pump water, carry a crew, and race along tarmac or rail siding — even if your overall scene blends aircraft and railroad elements into a single, cinematic composition.
Begin by thinking of the truck as three simple volumes: the chassis, the bodyhouse, and the cab. The chassis is a long low rectangle with exposed wheel wells. It anchors the weight and wheelbase. The bodyhouse sits behind the cab as a taller, boxy volume. The cab is a forward-facing cube with a slightly rounded front for windshield shape. Blocking these three shapes with light pencil lines gives you a scaffold for adding mechanical details. Keep proportions believable: most crash rescue vehicles have a wheelbase roughly two-thirds the vehicle length, with the cab occupying about one-quarter of the total length. For stylized artwork you can exaggerate the cab or the bodyhouse, but maintain consistent scale with the plane and train.
Perspective is where construction turns into storytelling. Use a two-point perspective when the truck is angled toward the viewer. Place vanishing points outside the paper if needed, and draw the chassis rectangle into those points. The wheels are circular in reality, but in perspective they become ellipses. Draw wheel centers on the chassis baseline, then construct ellipses that sit naturally in the wheel wells. Make the front wheels slightly turned if you want a sense of maneuvering. The cab’s windshield will wrap around two planes. Indicate this with a center vertical and two angled lines that meet the roofline. Keep these angles consistent with the vanishing points to avoid a skewed face.
Mechanical logic sells the design. Add a pump panel on the side of the bodyhouse — a recessed rectangle filled with dials, levers, and hose connections. Sketch hose reels as short cylinders partially inset into the side panels. Tanks are long ovals or rounded rectangles set into the body’s lower half. A ladder is essentially a rectangle with parallel rails and evenly spaced rungs. Draw mounting brackets as clipped rectangles to show how the ladder attaches. If the truck will be shown from above, hint at the water tank cap or the top-mounted turret by drawing a circular hatch or small nozzle at the roof’s centerline. These small, functional details convince the viewer your truck could really fight a fire.
Materials and surface planes determine how the truck will catch light. Break panels into flat faces separated by thin gaps. Indicate seams along doors, compartment lids, and access panels with shallow grooves. Chromed elements — handrails, nozzle tips, and mirrors — reflect strongly. Use narrow highlights and small, bright dots to emulate that reflective quality. Rubber tires absorb light and should be shaded with gradual gradients. Glass surfaces like the windshield deserve sharp, bright highlights and subtle reflections of the surrounding runway and smoke. Consistent light logic ties the truck to the rest of the scene.
Color choices should support both realism and readability. High-visibility paint works best for rescue work. A strong primary color with contrasting stripes or chevrons reads instantly as emergency apparatus. For scenes where smoke dominates, make the reflective strips brighter than the base paint to maintain clarity. Weathering and soot add storytelling. Apply darker smudges near exhaust outlets and around hose connections. Light scratches on bumpers and chipped paint along compartment edges imply heavy use.
Integrating equipment into composition keeps the truck connected to the plane and train. If the truck is spraying water at a wing, align the hose reel and nozzle so a visible line connects them. Draw the hose as a tapering cylinder with motion lines where it extends under pressure. For top-mounted turrets, show water arcs with foamy heads and translucent gradients. If the train is nearby, consider mounting a rail adaptor or showing a flatbed rail transfer beneath the truck. Even a quick hint — a small, visible coupling or locking foot at the truck’s base — will suggest rail compatibility without derailing the visual focus.
Human figures and scale cues are invaluable. A firefighter standing on a ladder or beside a hose gives the viewer an immediate sense of proportion. Keep figures small enough not to dominate, but large enough to show action. Draw them with simplified anatomy and suggestive gear: helmets, coats, and reflective bands. Positioning matters. A figure leaning into a pump panel or bracing a hose imparts urgency and clarifies how the truck operates.
Action is conveyed through exaggerated elements. If the truck is arriving at speed, push the perspective, tilt the cab slightly, and add dirt kicked up by the wheels. For a stationary suppression stance, show outriggers deployed as small rectangular supports. Movement can also be implied with smoke and water. Smoke should billow away from heat sources and thin into the sky, layered with varying opacity. Water sprays are made of overlapping strokes and soft gradients. Where water meets fire, leave small gaps and bright highlights to suggest evaporative steam.
When you move from pencil to ink or color, preserve the construction lines that matter. Ink the main panel seams, frame boundaries, and equipment outlines. Avoid over-inking textures; let color and shading handle subtlety. Use a limited palette to keep the scene cohesive: one dominant color for the truck, a neutral range for metallics and rubber, and a few accent colors for lights and markings. For lighting, decide whether the scene is daylight, dusk, or smoky midday. A low sun gives long shadows and warm highlights, while bright midday light demands crisp contrasts.
If your scene draws inspiration from animated firefighting themes, consider stylization choices. Rounder, friendlier shapes suit a family-oriented aesthetic. Sharper, more industrial proportions work for gritty realism. You can adopt either approach and still rely on the same construction techniques. Study reference images of real rescue vehicles for compartment arrangement and hose placement, then distill those elements into simplified shapes that read well at a distance.
For a practical reference on modern fire apparatus configurations and adaptable chassis ideas, explore this resource about comprehensive customized fire trucks for developing countries: comprehensive customized fire trucks for developing countries meeting diverse rescue needs efficiently. It offers insight into how rescue vehicles are organized and how equipment is arranged, which can enrich your designs and lend authenticity to your drawing.
Finally, remember how the truck interacts visually with the plane and the train. Contrast the truck’s compact, modular complexity with the plane’s sleek aerodynamic forms and the train’s repetitive carriage rhythm. Use consistent perspective, shared light sources, and overlapping elements to anchor the three vehicles in the same space. When the truck’s nozzle cuts a water arc toward a flaming wing, the scene unites: mechanical detail, human action, and kinetic drama working together. Small construction decisions — wheel placement, seam lines, or hose mounts — will determine whether that union feels authentic. Build the truck firmly on your page, and the rest of your plane-fire-rescue-train composition will follow.
Engineering the Rescue Train: Designing Train Features for a Planes Fire Rescue Illustration
When you integrate a train into a planes fire rescue scene, the train must read clearly at a glance. Your goal is to balance realism with readable shapes. A strong silhouette makes the train instantly recognizable among the plane and the fire truck. Start by deciding the train’s function in the scene. Is it a high-speed emergency responder rushing to help? Is it a freight train that unexpectedly appears on a parallel track? Or is it a specialized rescue consist carrying foam, pumps, and crews? That choice drives scale, detail, and attitude.
Begin with basic proportions that respect your plane and fire truck. If the plane is the central focus, draw the train slightly lower in the composition. This keeps the sky and plane dominant. Use one- or two-point perspective for depth. Place the rails so they lead the eye toward the plane. Rails should converge toward the horizon. Keep sleepers and rails evenly spaced. They create rhythm and suggest motion.
The locomotive defines the train’s personality. A boxy diesel will feel heavy and reliable. A streamlined electric or modern unit reads as fast and urgent. For a dramatic rescue scene, a dynamic nose and angled windshield suggest speed. Keep major planes, windows, and vents readable when seen from a distance. Simplify complex grills into strong geometric shapes. Add headlamps and a bold front fascia. These elements will contrast with the plane’s rounded fuselage.
Choose car types that support the narrative. Tank cars can carry foam or extra water. Flatbeds can hold pumps, generators, or modular rescue pods. Passenger cars imply evacuation and urgency. Boxcars suggest cargo and a secondary threat. When you draw these cars, emphasize distinct profiles. Tank cars are cylinders with strong rims. Flatbeds are thin platforms with visible bolsters. Passenger cars have rows of windows that break the silhouette into repeated patterns.
Couplers and undercarriage detail sell authenticity without clutter. Draw wheels as simple discs with axle boxes. A hint of the bogie frame is enough when the train sits behind the plane. Keep undercarriage shadows consistent with the scene’s light. Avoid over-detailing, which competes with the plane’s intricate features. Instead, suggest complexity with a few well-placed bolts, hoses, and piping lines that echo the fire truck’s hoses.
Design the rescue-specific features with clarity. If the train is part of an emergency response, show water tanks with visible fill hatches and pressure relief valves. Sketch foam tanks with piping that runs along the sides. Mount a few telescoping booms or articulated monitors on flatbeds. These can aim toward the plane like the fire truck’s hose does. Draw access ladders and safety railings. These small items communicate intent. Use contrast to separate these elements from the train’s body. Bright colors on valves and railings make them readable at a distance.
Color choices should support function. Emergency colors like bold reds, high-visibility yellows, and reflective stripes signal urgency. If you prefer realism, keep the train’s body a neutral hue and use vivid accents for the rescue modules. Reflective striping along each carriage reads instantly in low light. Paint signage or logos as simple shapes and blocks of color. Too much small lettering becomes noise. Consider where grime and soot collect. Weathering along the roofline, near vents, and under wheel wells sells repeated use.
Lights are a storytelling device. Headlights, rotating beacons, and cabin lights create focal points. Place strong highlights where lights hit metal. Use small halos for rotating beacons to suggest intensity. If the scene occurs at dawn or dusk, let these lights punch through smoke and haze. Reflections from the plane’s polished fuselage and the wet runway add drama. Keep reflected highlights consistent with the light source and angle.
Motion cues unify the train with the plane and fire truck. Motion lines along the rails and steam or dust behind the wheels suggest speed. Tilt the locomotive slightly forward to imply momentum. If the train approaches on a parallel track, add angled lines and blurred rails. Use smudged textures for smoke near the exhaust. Smoke should not obscure important shapes. Let it frame the plane instead of covering it.
Integrate rescue crews to humanize the response. Small figures on flatbeds or standing on walkways provide scale. A firefighter operating a portable monitor or attaching a hose to the plane clarifies roles. Keep figures simple. A few strokes can imply posture and direction. Position them to lead the viewer’s eye between the train and the plane. Their gestures tell a story of coordinated effort.
Detail the train’s surfaces with materials cues. Metal panels show seam lines and rivets. Painted surfaces have subtle scratches. Rubber gaskets around doors and vents add contrast. Use short, angled strokes for riveted texture. For shiny metal, apply a few long, soft highlights. Matte surfaces take more diffuse shading. This variety keeps the train visually rich without overwhelming the scene.
Consider safety and utility items that add credibility. Fire extinguishers, hose reels, folding ramps, and stowed medical stretchers are believable. Place these items in compartments that open outward. Draw compartment doors as rectangles with visible hinges. These readable shapes make the train look functional. Small signage, like hazard placards and rescue symbols, provide clarity. Keep symbols simplified into basic shapes and color blocks.
Balance composition so the train does not compete with the plane. Use value contrast to separate elements. If the plane is light and reflective, make the train slightly darker. Conversely, if the plane is in shadow, give the train brighter accents. Layer elements so the train sits behind the fire truck or partially behind the plane. This creates depth and reduces visual conflict.
When inking and coloring, start with bold outlines for major masses. Lock down the silhouette first. Then add mid-level details like windows, vents, and piping. Work from large shapes to small. Use limited palettes to maintain harmony. For atmospheric realism, tint smoke with warm grays and add subtle color bleed from flames. Water spray should catch light with small white highlights and translucent blue tones.
Finally, study references for trains and rescue vehicles. Look at real emergency responders and rail equipment to borrow functional ideas. If you want character-based inspiration, official illustration guides for firefighting planes can help refine forms and proportions. For a focused tutorial on character designs from an animated firefighting film, see the official guide here: https://www.disney.com/planes-fire-rescue. For practical fire truck adaptations and global rescue solutions, review a write-up on customizable fire truck solutions for developing countries here: customizable fire truck solutions for developing countries.
These choices will help your rescue train hold visual weight. They will make it a convincing partner for the plane and fire truck. Keep forms bold. Keep details meaningful. Above all, let the train support the story of rescue you want to tell.
Bring the Scene to Life: Action, Atmosphere, and Final Polish for a Planes Fire Rescue Train
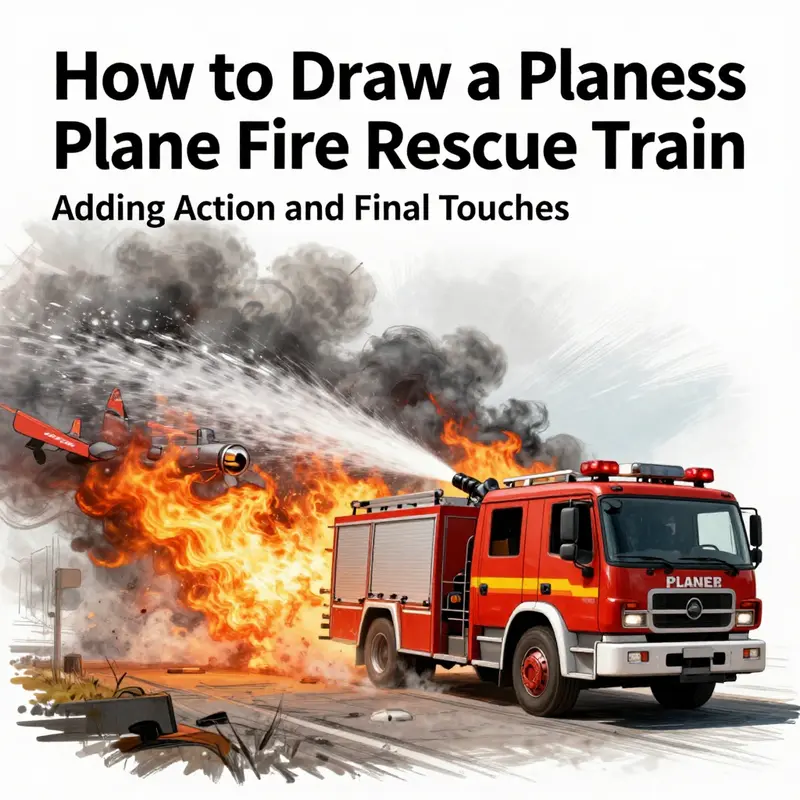
When the sketches of your airplane, fire rescue vehicle, and train are in place, the picture needs motion and atmosphere. This is where narrative and technique meet. Add purposeful gestures and purposeful marks. Turn static parts into a single, urgent event. Think about what will draw the viewer’s eye first, how each element supports the rescue story, and which small details sell realism.
Start by setting a clear focal point. Pinpoint the most dramatic moment you want to show: water striking burning wing, a firefighter mid-run, or the train rushing past with emergency lights. Make that area the most detailed and contrast-rich part of the composition. Use heavier lines, sharper highlights, and stronger color values there. Keep secondary elements softer and less contrasted so the eye returns to the focal point.
Motion can be suggested with a few simple tools. Action lines or motion blur behind the plane and train give a sense of speed. For the plane, short curved strokes behind the wingtips and fuselage work well. For the train, parallel streaks near the wheels or along the tracks suggest rapid movement. Vary line weight to simulate acceleration: thicker near the object, tapering to thin as lines extend.
Smoke and flame are the most expressive tools for action. Draw smoke with loose, overlapping curves that rise and disperse. Let the smoke overlap foreground elements to sell depth. Use a mix of soft graphite or diluted ink washes to create smoky gradients. Flames should be more structured near the fire source. Define a few clear tongues of fire with sharper edges and brighter values. Keep the hottest core bright and the outer flames more translucent.
Water spray from the fire truck’s hose is both a graphic and narrative device. Paint the stream as a strong, slightly arcing line aimed at the fire. Break the stream into smaller droplets as it nears the flames. Use white highlights or erase tiny dots to simulate sparkling droplets. If using color, cooler blues for water contrast strikingly with warm reds and oranges of fire.
Light and shadow create drama. Decide on a light source early and keep it consistent. A sunset sky creates long, warm shadows. Harsh midday light yields crisp cast shadows and intense highlights. For maximum drama, choose a single strong light source that creates reflections on metal surfaces and deep silhouettes. Reflective surfaces on the plane and train will pick up colors from both flames and sky. Touch small highlights along panel edges, windows, and chrome to suggest heat and movement.
Textures help each vehicle read as distinct. Use cross-hatching and stippling for rugged metal. Smooth, broad strokes suit painted surfaces like the body of a plane or fire truck. For tires and tracks, emphasize tread patterns with repeated short strokes. When adding grime or soot near the fire, use irregular washes and smudges. Subtle streaks of dirt on the train and truck tell a story of long service and urgency.
Scale and perspective are essential to unify the scene. Use converging lines to anchor the runway or tracks. Linear perspective will place the plane, truck, and train convincingly in the same space. If the plane is foreground and the train recedes into the distance, make the train slightly simplified in detail. Reduce window and door detail on distant cars and keep values lighter. This will prevent competing focal points.
Human figures add scale and emotion. Small firefighter silhouettes or train crew figures give viewers a point of identification. Capture motion with quick, decisive lines. A running firefighter needs fewer details than a stationary one. Suggest posture and intent: a forward lean implies urgency, raised arms show command, and open stances suggest coordination.
Work in layers when you refine the drawing. Block in midtones first, then lay down shadows. Reserve the brightest highlights for the final pass. If you ink, use a waterproof pen for linework and leave room for wash or color later. Alternatively, you can use colored pencils on top of ink. Layering keeps the image vibrant and prevents muddy colors.
Color choices should enhance mood without overwhelming detail. A limited palette focused on warm fire tones and cool rescue blues creates clear emotional contrast. Use saturated reds and oranges where flames and emergency lights dominate. Cool grays and blues for metal surfaces and the sky will push the warm colors forward. For subtle realism, add small accents such as reflective yellow striping on the truck or faint rust tones on older train cars.
Edge control is a small but powerful skill. Hard edges suggest solid, close objects. Soft edges push items back. Soften edges within the smoke and at the horizon. Keep crisp edges on the plane’s nose and the train’s front to hold attention. Use an eraser to lift highlights and create clean edges where light strikes metal.
Compositionally, balance movement across the canvas. If the plane is angled left, have the train angled right or the truck positioned to counterbalance. Diagonal compositions intensify action, while horizontal lines calm it. Use diagonals to increase tension and urgency. Let the lines of runway, rails, and hoses guide the viewer through the rescue sequence.
Pay attention to sound cues implied by your drawing. Visual rhythm can suggest noise. Repeated short strokes for spray and smoke, jagged shapes for explosions, and slanted lines for rushing winds imply how loud the scene is. These visual hints help the viewer imagine the scene beyond sight alone.
Final detailing elevates the drawing. Add rivets, panel seams, and tiny decals sparingly. Small reflective glints on glass and metal add realism. For human elements, refine a few faces or hands to convey emotion, but avoid overworking distant figures. When you ink or darken outlines, vary line weight for a livelier result. Thicker strokes in shadow, thinner lines in light, and broken lines in texture areas breathe life into the page.
Materials and tools influence the final look. A soft graphite pencil yields subtle gradations for smoke. Ink pens give crisp, energetic lines for mechanical parts. Watercolor or diluted markers create luminous washes for smoke and sky. Colored pencils or gouache work well for sharp highlights and corrections. Choose tools that match the level of finish you want.
Before declaring the work done, step back and assess unity. Squint to check values. If the focal area reads clearly, move on. If not, increase contrast or simplify nearby details. Take a photo to see the composition flattened. Small adjustments, like brightening a highlight or darkening a shadow, often make the biggest difference.
For realistic reference on drawing rescue aircraft and dynamic poses, consult detailed instructional guides online. For additional context on specialized firefighting vehicles, you may find practical design and equipment discussions useful in articles about customizable fire truck solutions for developing countries: https://tpbhrescue.org/customizable-fire-truck-solutions-for-developing-countries-diverse-firefighting-needs/
For step-by-step guidance on drawing planes in active poses, see this instructional resource: https://www.pixar.com/learn-about-animation/drawing-planes
Final thoughts
In conclusion, drawing a plane fire rescue train not only encourages creativity but also illustrates the vital teamwork involved in emergency responses. Each step of this guide provided you with foundational skills to compose a scene that merges the worlds of aviation, firefighting, and rail transport. As you practice these techniques, remember that art is a journey, and every stroke contributes to your growth. Embrace the process, and let your imagination take flight as you master this unique and compelling illustration.